Traveler eSIM Installation Guide
Samsung Galaxy Installation Steps
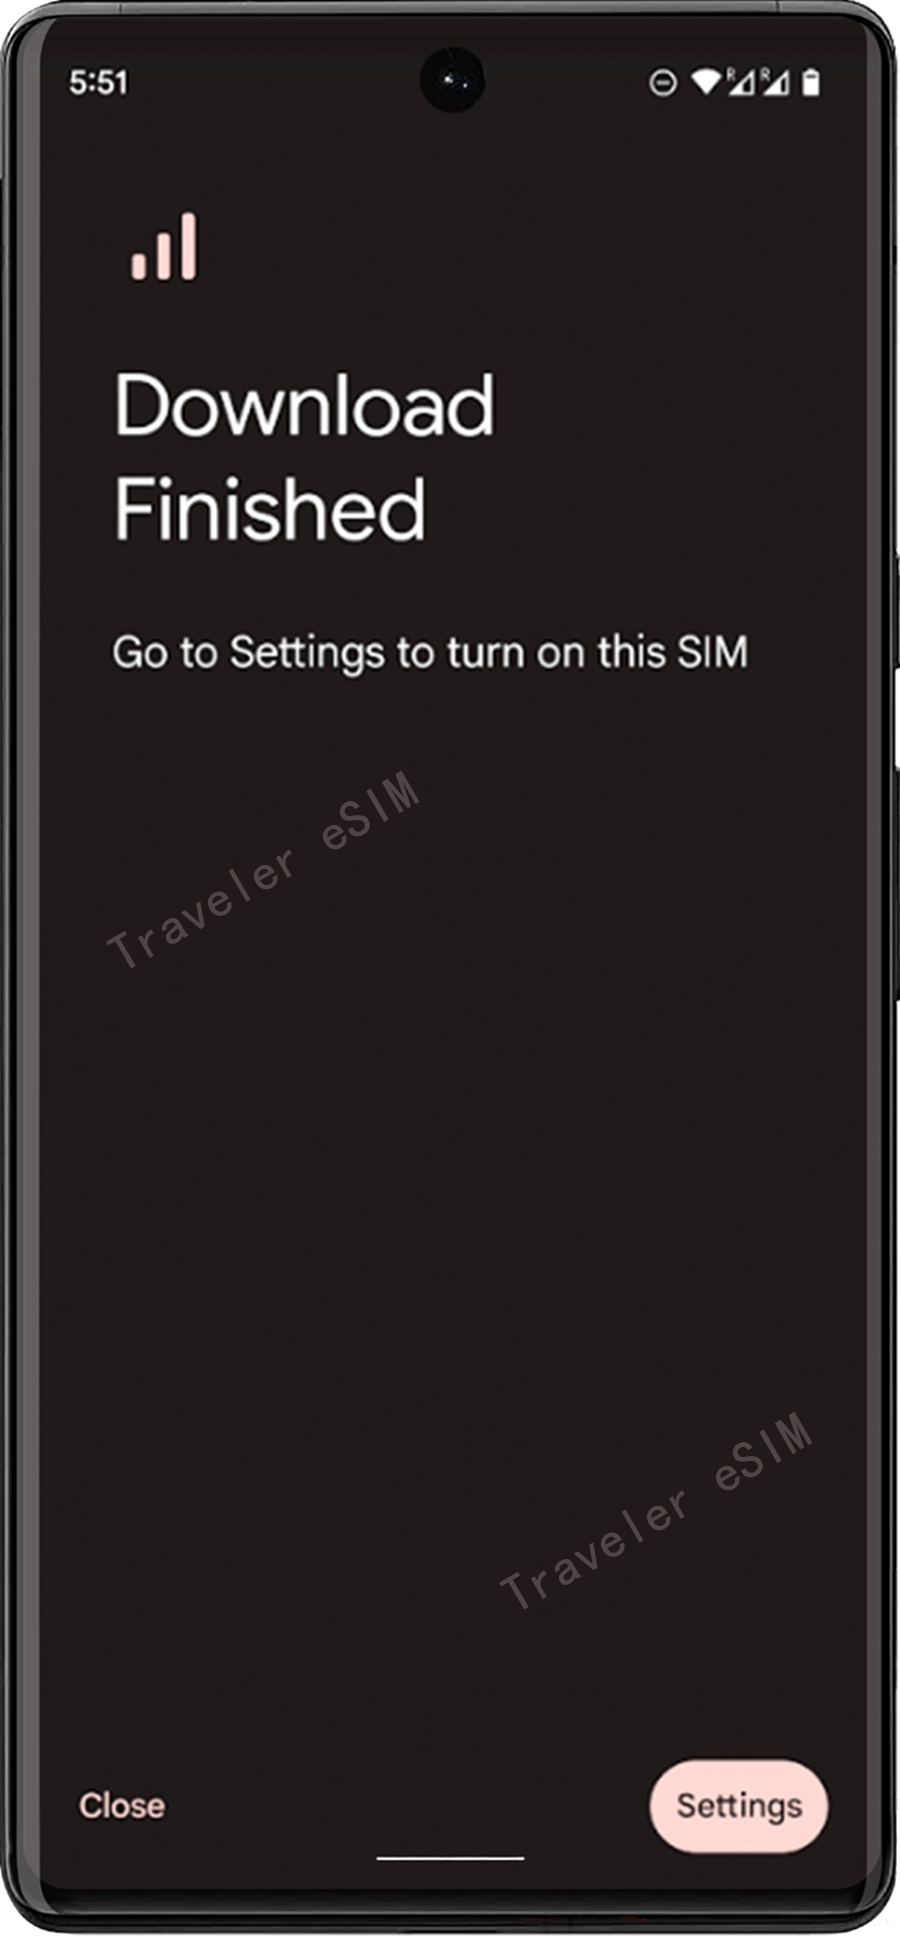
Note: Do not interrupt the installation process. Before installation, ensure the device has a stable internet connection.
Step 01
① Select the QR Code option at the top.
Step 02
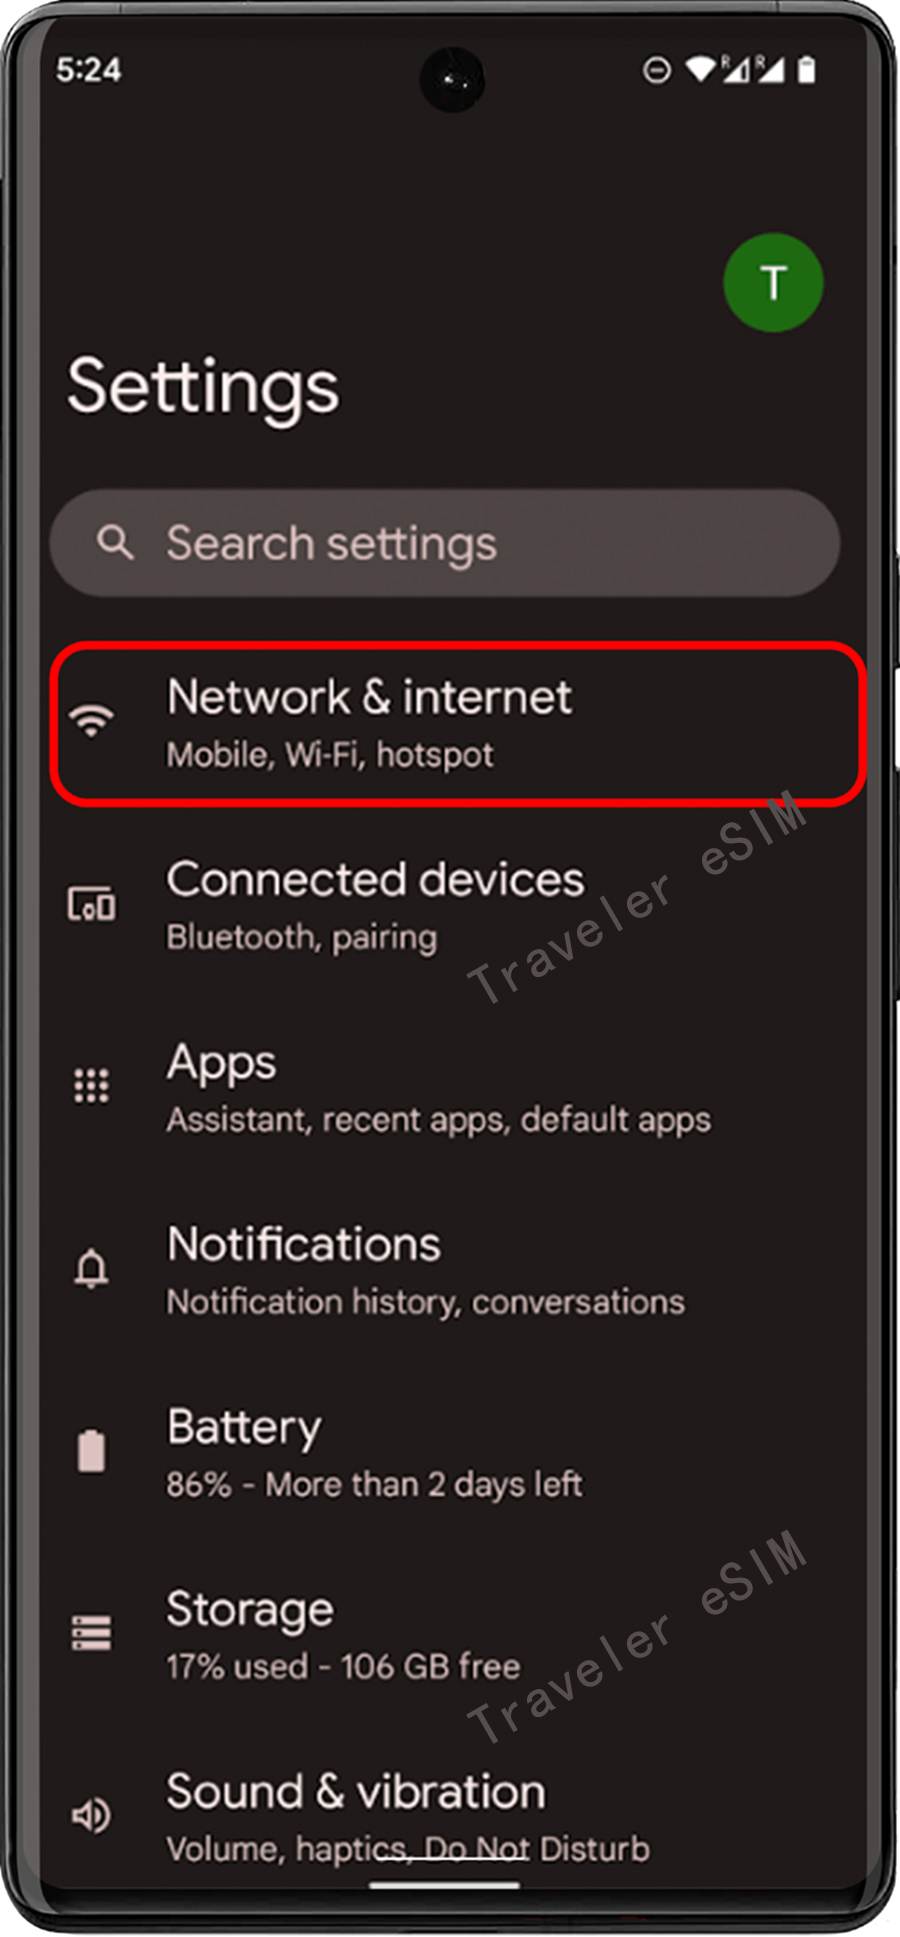
② Go to "Settings > Connections"
Step 03
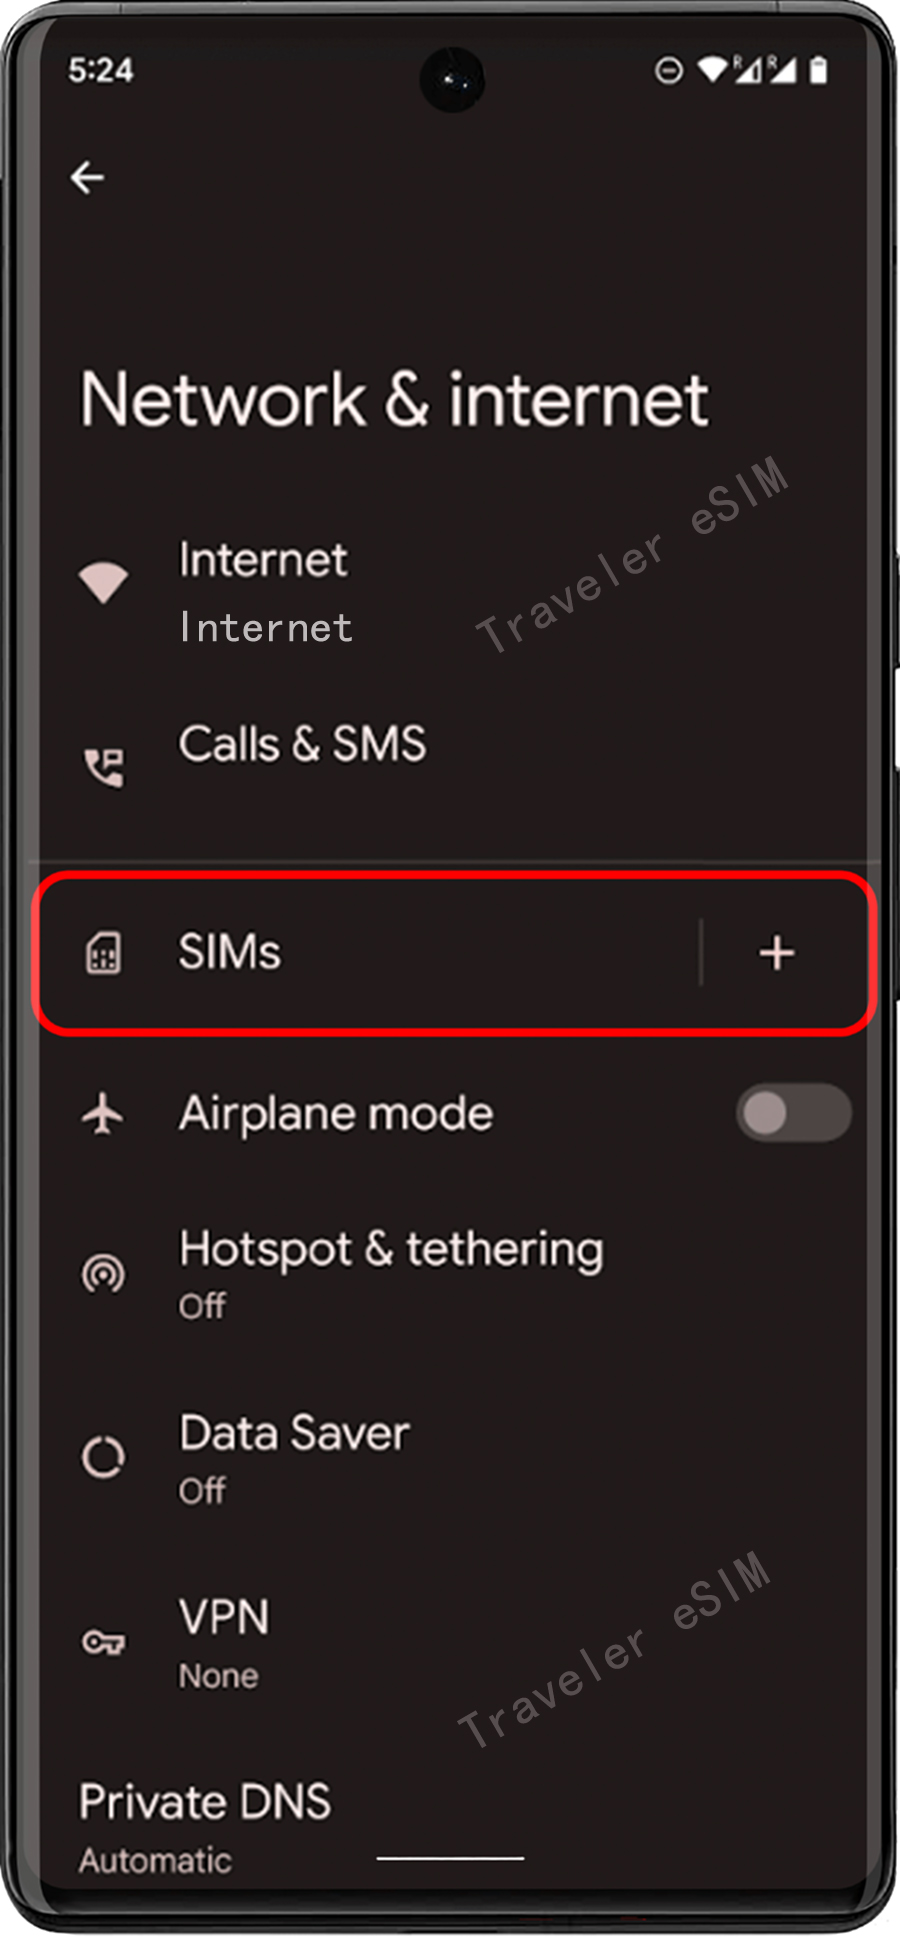
③ Tap "SIM Card Manager"
Step 04
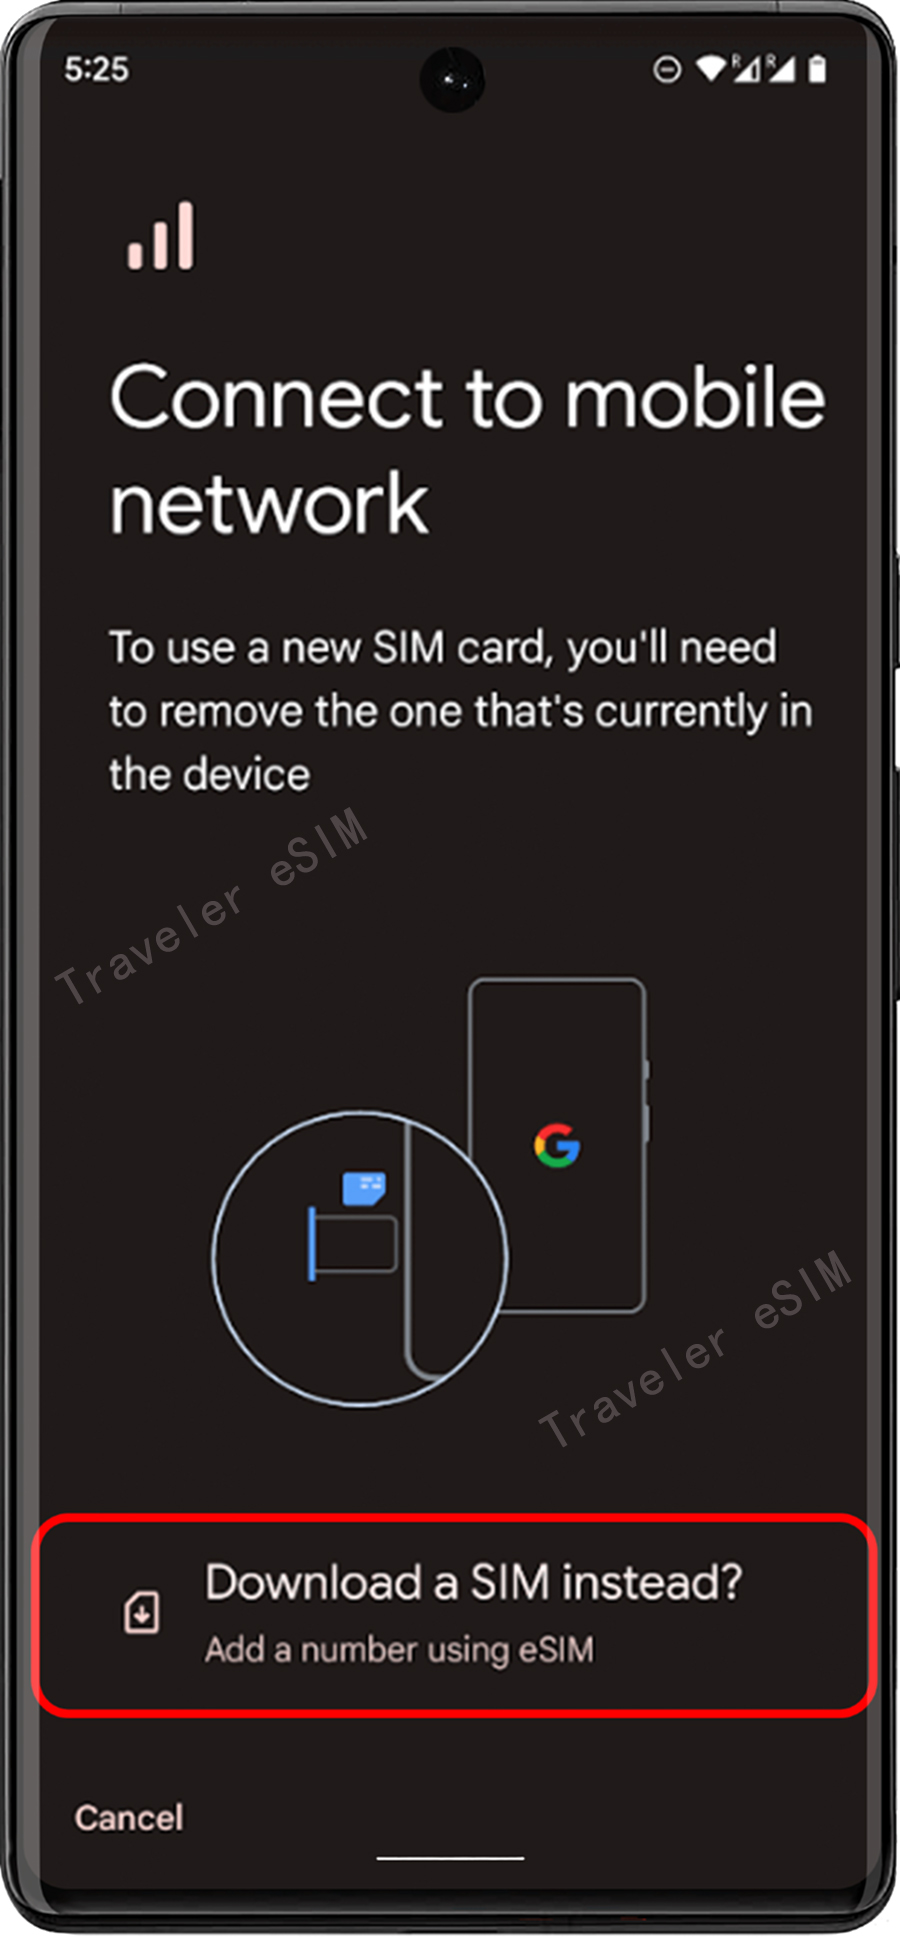
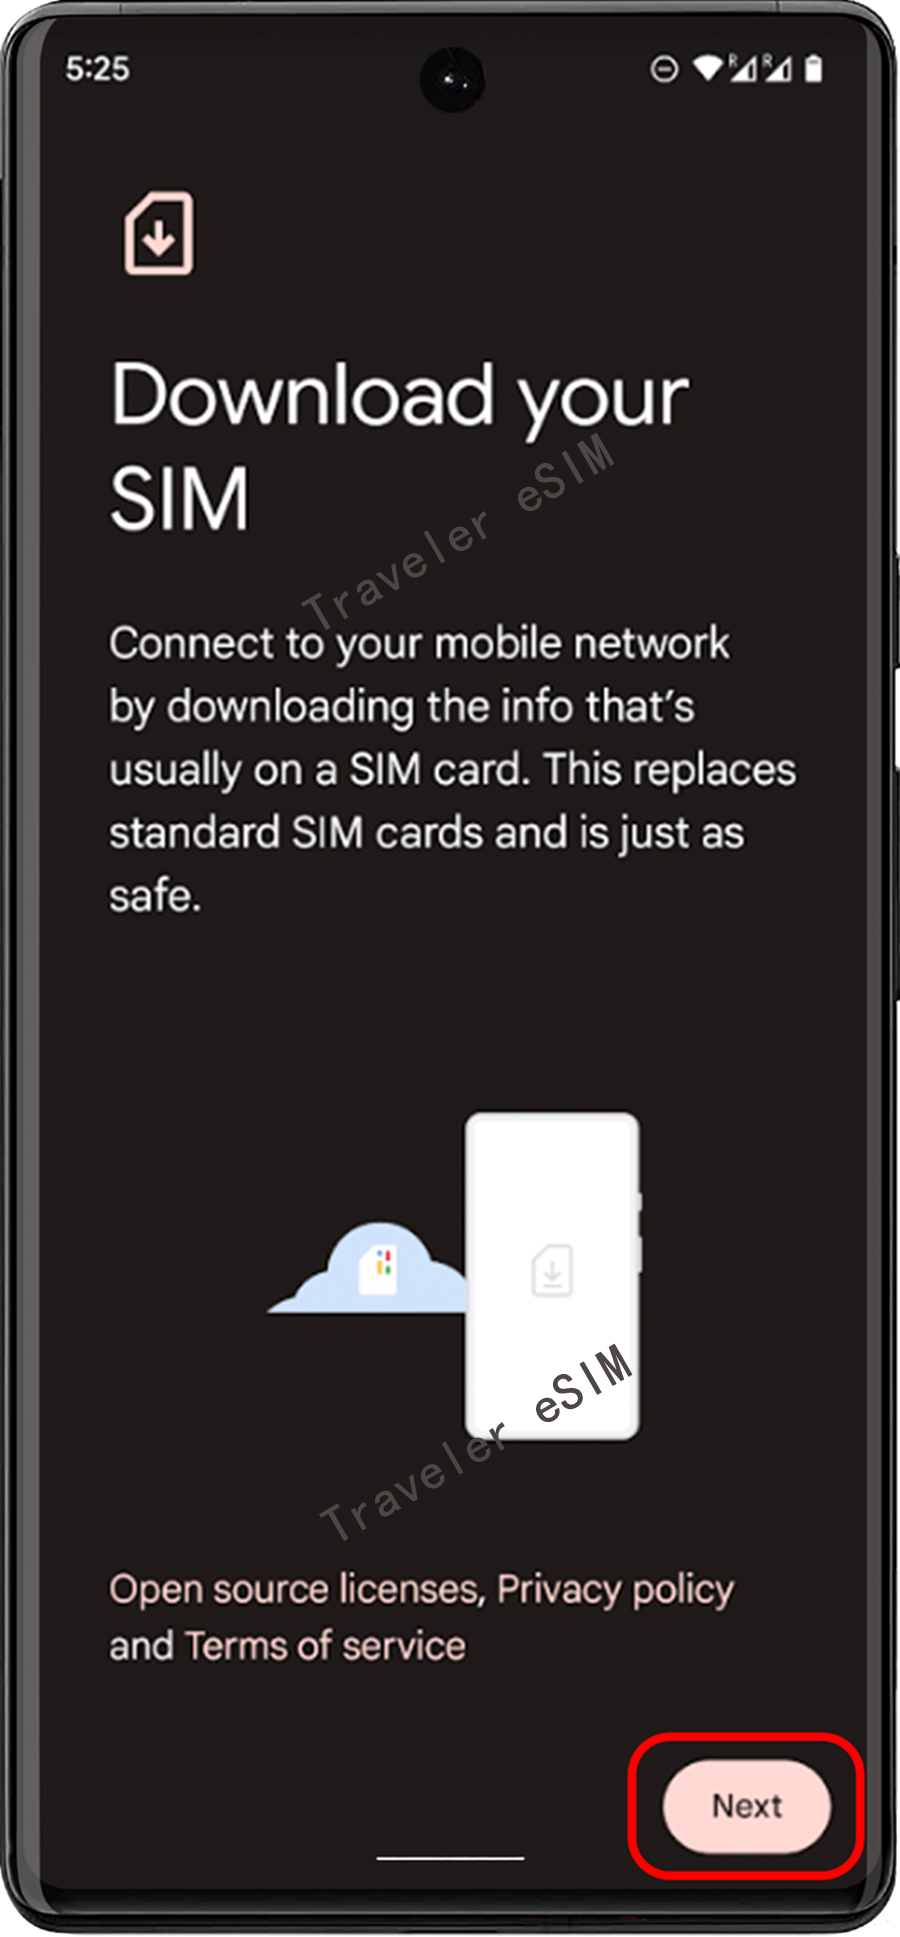
④ Select "Add Traveler eSIM Plan"
Step 05
⑤ Select "Scan eSIM QR Code"
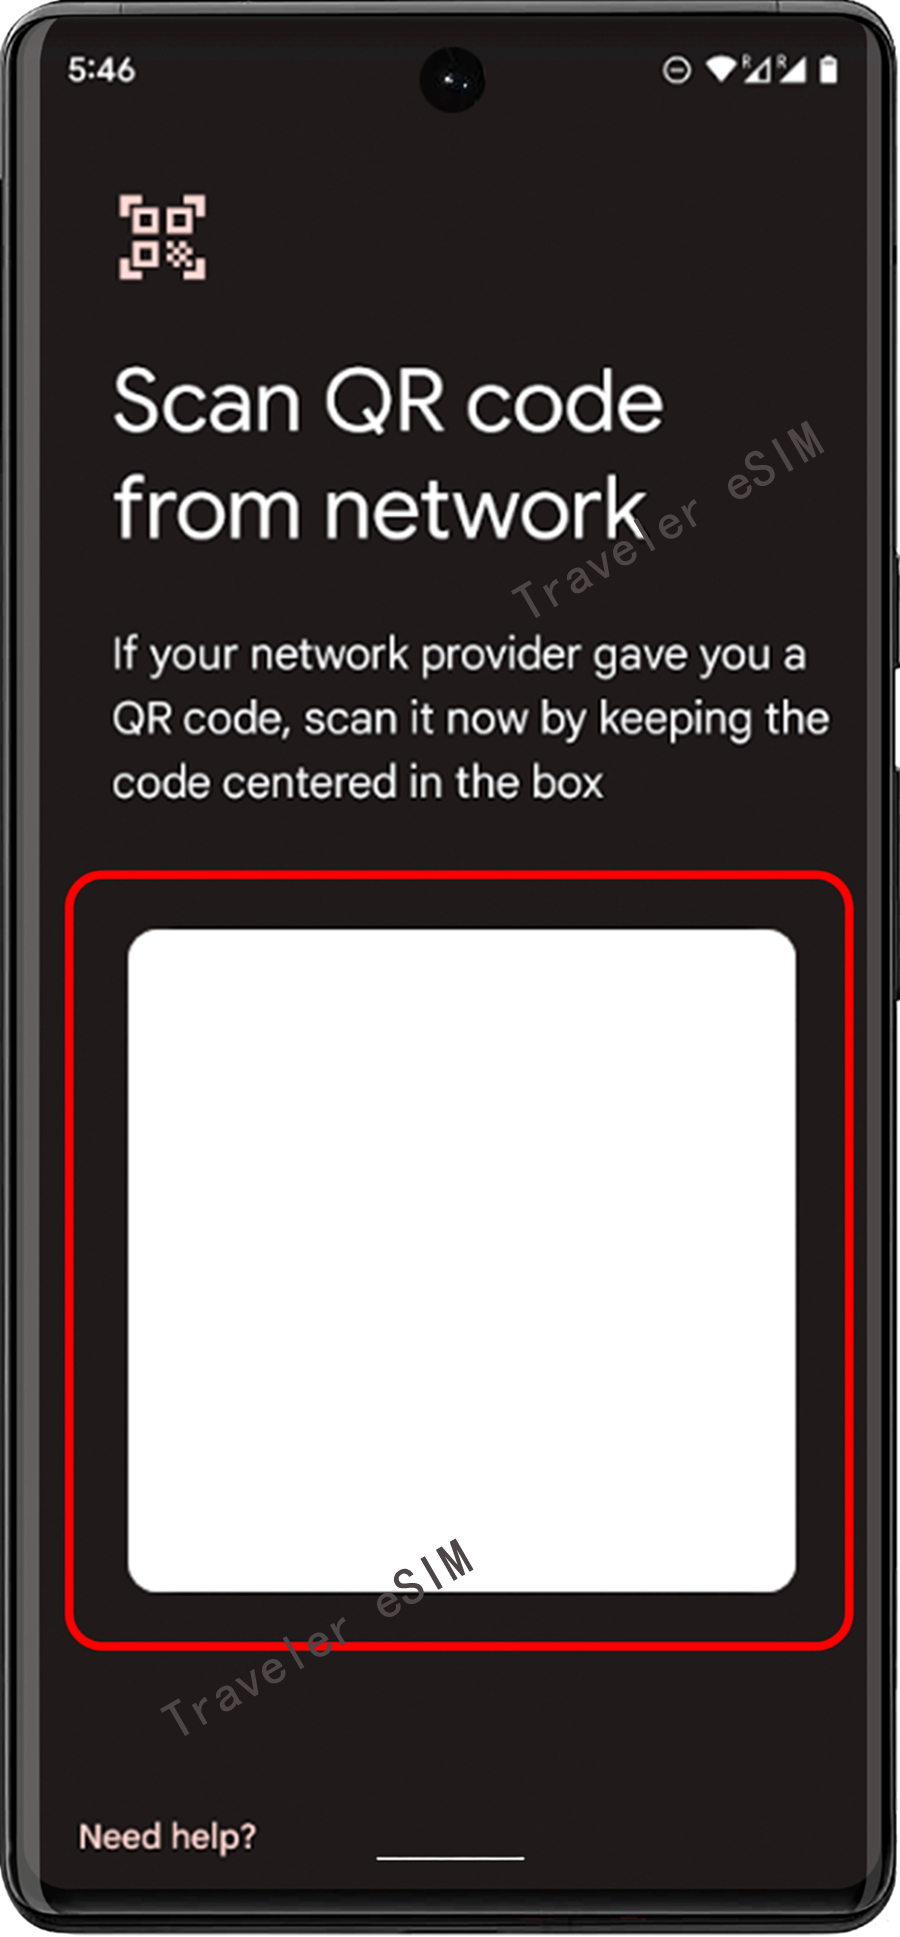
Step 06
⑥ Position the QR code within the guide lines to scan it, and enter the confirmation code when prompted.
Step 07
⑦ After the eSIM plan is detected, tap "Add".

Step 08
⑧ After registering the plan, select "OK" to activate it. Once the eSIM is activated, you can check it in the SIM Card Manager.